
ISSUE 1.5
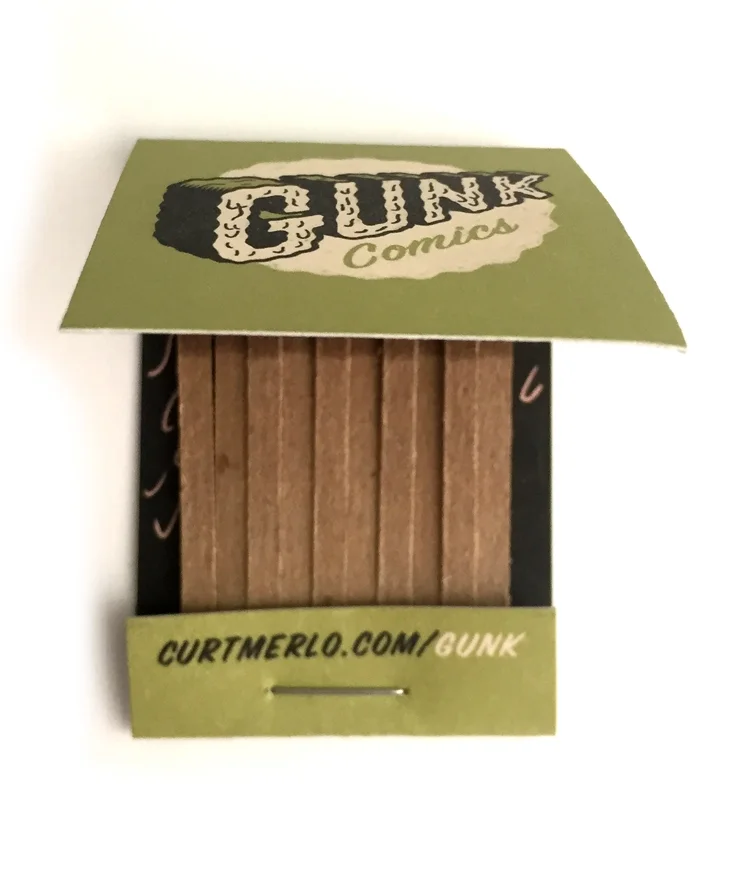
I recently challenged myself to learn how to hand make a matchbook using mostly what I already had and purchasing only a few materials. Below was my final result. In this issue I will break down the process of how I made these matchbooks from start to finish.

Please note that this half-issue of art gum will only deal with the production part of the process. If you would like to see how I made the art portion of a matchbook, you can subscribe to see Art Gum Issue 2 in which I break down my art process for a recent project where I made a matchbook for the bar, The Bunker Club. Now, on with the show.
Part 1 : Anatomy of a Matchbook
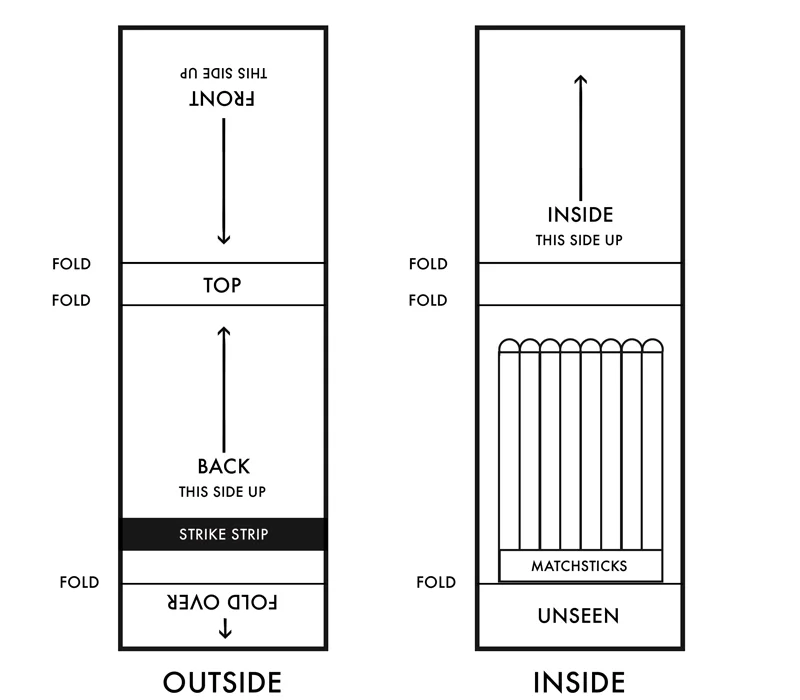

Here is how it will be folded and stapled
Part 2 : Materials
You will need a printer and a stapler as well as the following materials to complete this project.

CARD STOCK
I used Accent Opaque Digital 100lb Cover Smooth. The thicker the paper, the better, but be aware of what your printer can handle.
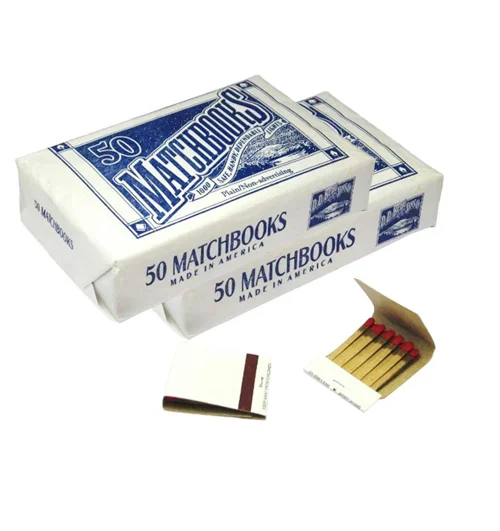
MATCHBOOKS
If you are only making a few, you can just grab some from a local bar. If you want to make a lot like me, I ordered these blank matches.

STRIKER SHEETS
I ordered These in which I cut to make strips. The back is a sticker, which is key.
Part 3 : Printing
The hardest part of this whole project will probably be the printing and figuring out how to line up the images so when you flip the paper over, it will print the second side directly over the first side. Unfortunately, I can't assist too much in this department because each printer is different. Trial and error is how I figured out how to align these two pages. Practice on some cheap paper first.
PRINTING TIPS
1. After you print the first page, make sure you flip the paper the short way (side to side) not the long way (over the top). I ruined a lot of paper because I couldn’t get this right.
2. Make sure your art has a bleed, which means it extends beyond the edge of where you will cut. Especially the back side. This will make up for any imperfections in the alignment of your printer.

Here is the sheet that I used when printing on my 11" x 17" paper. Make sure each layer is going in the opposite direction so when you flip the paper over it will print the right direction. Then cut the paper along the cut lines.
Part 4 : Production
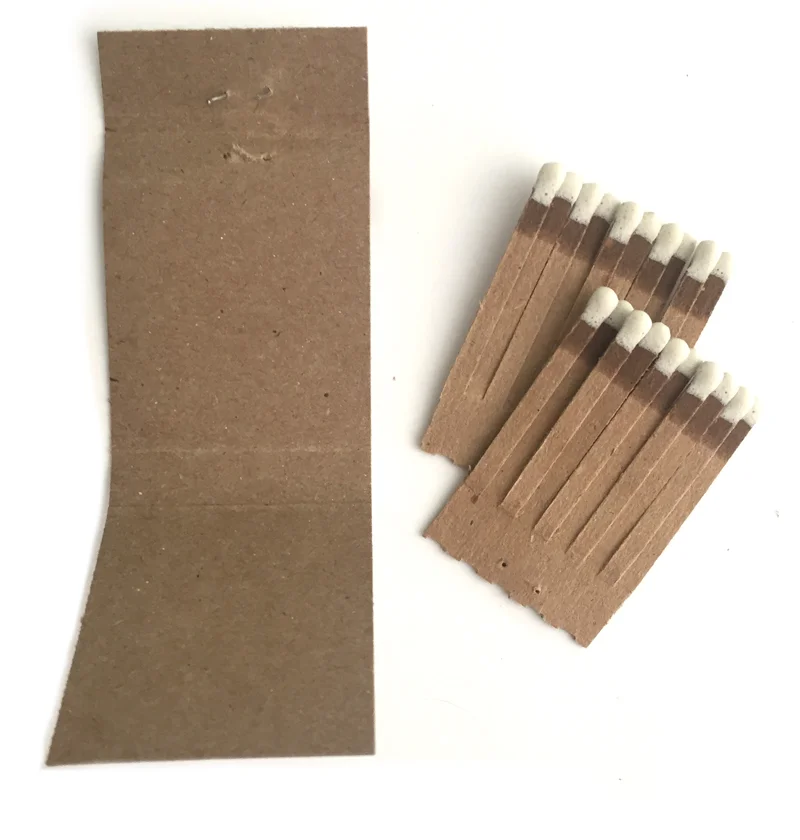
STEP 1
Take apart the matchbook. A 20 stick matchbook is made up of two 10 - matchstick rows. Only use one of the rows ( 10 matchsticks) unless you have commercial grade stapler.
STEP 2
Fold the paper along the fold lines, Above you can see how the inside and outside will look folded.
STEP 3
Staple the 10 matches into the matchbook.

STEP 4
Cut the striker sheet into a strip and stick it over the strike area on the back

That's it! You are done! I know this seems very tedious, but it can be fun and once you get the kinks worked out, it can move pretty fast. I hope you enjoy the process and your new stylish matchbooks.
You can see/buy my gunk matchbooks as part of the GUNK Fun Pack in my store HERE.
In ART GUM Issue 2 I will dissect my art process for a matchbook design I made for a Cold War Bar. Check it out.
THE END
If you found this helpful please consider subscribing using the buttons below to receive full issues of Art Gum once a month. Also please consider sharing this with a friend by sending them this link: http://www.curtmerlo.com/artgum/
SUBSCRIBE TO RECIEVE FUTURE ART GUM POSTS
ART GUM Monthly Issue
Monthly Issue + Exclusive Content + 1 Print Every 3 Months
Log in to Change Subscription

Follow me on Instagram or sign up below for my free quarterly illustration digest.