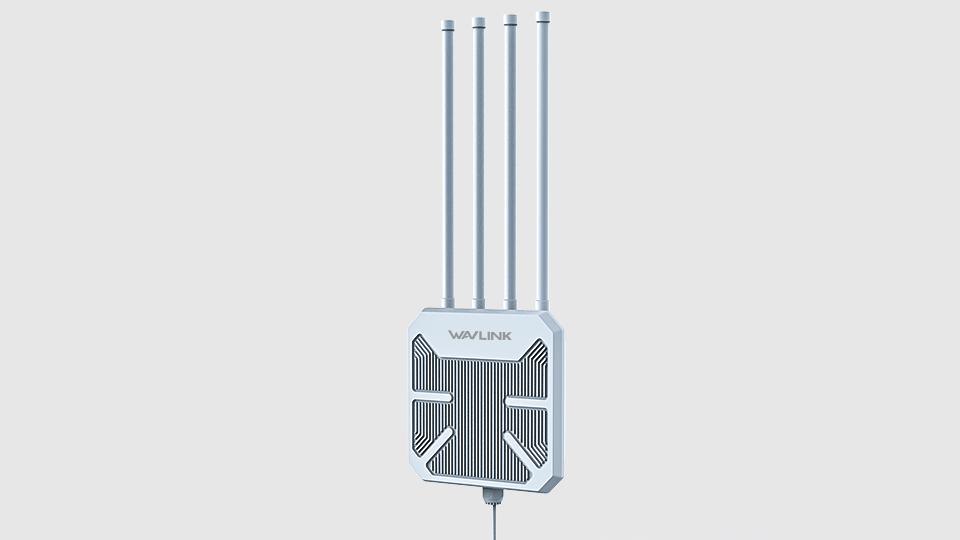
Hardware connections
1. Power on- your modem.
2. Connect the WAN port of the router to the Modem’s LAN port with an Ethernet cable.
3. Connect your WAVLINK router via its Wi-Fi or an Ethernet cable.
4. Plug the provided Power Adapter into the Power jack and the other end to a standard electrical wall socket. Press the On/Off button to power on the Router.

Router installation steps
Please reset the router by pressing and hold the reset button for about 10s when powered on.
1. Connect your WAVLINK router via its Wi-Fi signal “WAVLINK-XXXX” or an Ethernet cable.
2. Launch Chrome and enter the default login URL http://192.168.10.1 or http://wavlogin.link in the URL bar not search bar.
3. Enter the login password you have set. The original login password is “admin” by default if it has not been changed.

4. Choose your WAN connection Type (the most important step) : Select "DHCP "or "Dynamic IP" in the WAN type.

5. Please complete the configuration of the wireless settings. It’s recommended that you rename a SSID , choose a security type(usu WPS-PSK2) and enter a Wi-Fi password. Click “Apply” button.
6. After the configuration, please go to your device WLAN setting ,and reconnect the Wi-Fi . Note: if the router is unable to connect to your modem, you need to determine the type of internet access. Wan connection type generally includes PPPoE dial-up, Static IP, Dynamic IP/DHCP. PPPoE and dynamic IP will be more common on home router, Static IP is generally common in enterprises, Internet cafes and so on. Therefore, it is recommended that you first select "DHCP/Dynamic". If it is invalid, you need to consult the ISP (network operator) connection method. If it is PPPoE dial-up Internet access, you need to enter the correct account and password.
If you are still unable to access the internet after setting the router, please log in to the router's web management again, Click Clone MAC Address to clone your PC’s MAC address to WAN MAC Address of the router


How to check the PC's mac address?

If you still unable to access internet, please change the DNS of the WAVLINK router Steps: go to ‘Setup-----’DHCP Server, change ‘primary DNS’ to ‘8.8.8.8’, change the ‘secondary DNS’ to ‘192.168.10.1’or ‘8.8.4.4’.-click on ‘save’.


Get the Scoop First
Subscribe to our official website to receive exclusive first-hand news and stay up-to-date on our new product releases and promotions!

